Take The 60-Second Tight Hip Flexor Test
Plus 4 Effortless Ways To Loosen Up Quick
Hey, I’m Rick Kaselj, founder of ExercisesForInjuries.com and creator of world-leading pain relief programs
Before you read any further, Download your tight hip flexor checklist completely FREE to track your improvements
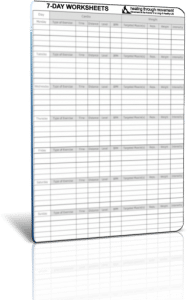 Enter your email and click the button below to get the FREE checklist.
![]() We value your privacy and would never spam you
We value your privacy and would never spam you
Today I’m going to show you a simple test to see if you have tight hip flexors. If you’re wondering “Hip flexors?! Why should I worry about those?” — I’ll show you why they might be the #1 root cause of pain in your hips, quads and back. Plus, I’ll show you 4 easy ways to start fixing them.
The sneaky thing about hip flexors is: you never think about them. But today you will see clearly how tight hip flexors “work behind the scenes”...creeping into other areas of your body.
You’ll learn some very specific ways to reduce tightness. Especially if you spend any time driving, sitting at work, or just trying to walk regularly to keep healthy.
I will give you quick test to actually measure your level of tightness. After that, I’ll show you a painless set of floor exercises you can do in minutes at home.
It’s a wonderful little sequence to melt away debilitating pain, and has helped over 23,000 people already.
Let’s get started!
Getting Started: The 60-Second Tightness Test
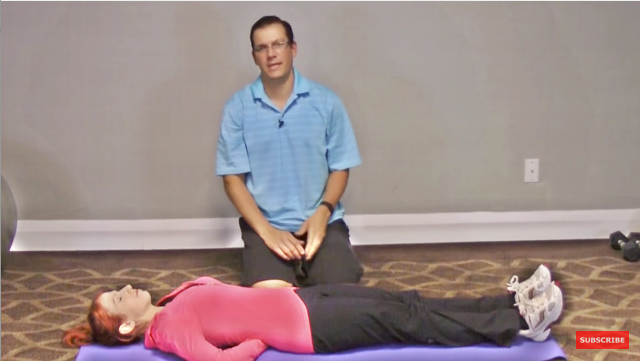
You’ll see myself and my assistant Donna Lee demonstrating in the photos. Start by lying on your back, and then straightening out your legs flat on the floor.
You’re going to stay in this position for 60 to 90 seconds, like this.

While you’re lying down, I want you to check three simple things:
First, look for tightness in your quads, hips, and back. Literally ask yourself, “Do I feel pain in my quads, hips, and back?”
The second thing you’re looking for is a “pulling” feeling on your hip and your lower back. No need to rush, just mentally examine these areas and see what you feel.
The third thing to check is, does it feel like the curve of your lower back increased, compared to when you are standing. I know this can sound like a weird question, so I’ll give you another way to test it.
When you put your hand under your back — does it feel like there’s lots of space? You can see Donna Lee demonstrating here:
These three steps should take 60 to 90 seconds.
Bend Your Legs: Does The Tightness Decrease?
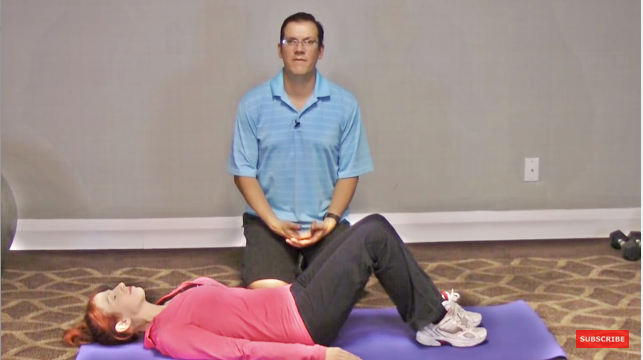
Now, bend your legs at the knee, and create a 45 degree angle.
This actually reduces the stretch of your hip flexors, like a rubber band releasing some of its tension.
Now that you’ve bent your knees — compare your tightness in the quads, hips and backs to before.
Has the tightness decreased compared to straight legs? How is the pulling? Has it decreased in your hips and back?
Check and confirm with your hand, by measuring how much room you have in your lower back curve.
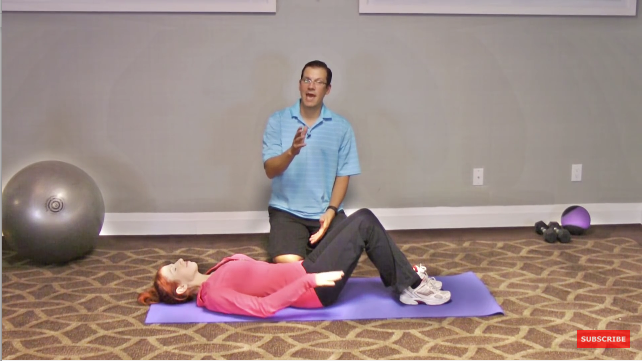
Still Tight? 3 Signs Your Hip Flexors Need Help
Look at your answers to the questions above.
1) If you still feel lingering tightness in the quads, hip and back... it’s a sign of tight hip flexors.
2) If you have lots of pulling on your hip and low back... that’s another sign of tight hip flexors.
3) If you’re laying with straight legs and you feel a big curve in your lower back... you guessed it... there’s tightness in your hip flexors waiting to be released.
If you have these signs, don’t ignore them another second. Your injury recovery will grind to a halt unless you address it. And, a dangerous effect called “referred pain” has the potential to “domino” into other muscle groups.
This puts your hips, back and neck at risk of feeling unnecessary pain.
“So how do I get rid of the tightness without expensive therapy?”
Let's look at some proven solutions for penetrating hip flexor tightness. You can do all of them yourself. They’re easy and you won’t risk hurting yourself either.
4 Ways to Target Your Hip Flexors For Pain Relief
In order to decrease the pain in them, loosen them up and stretch them out.
Exercise #1: Hip Flexor Massage
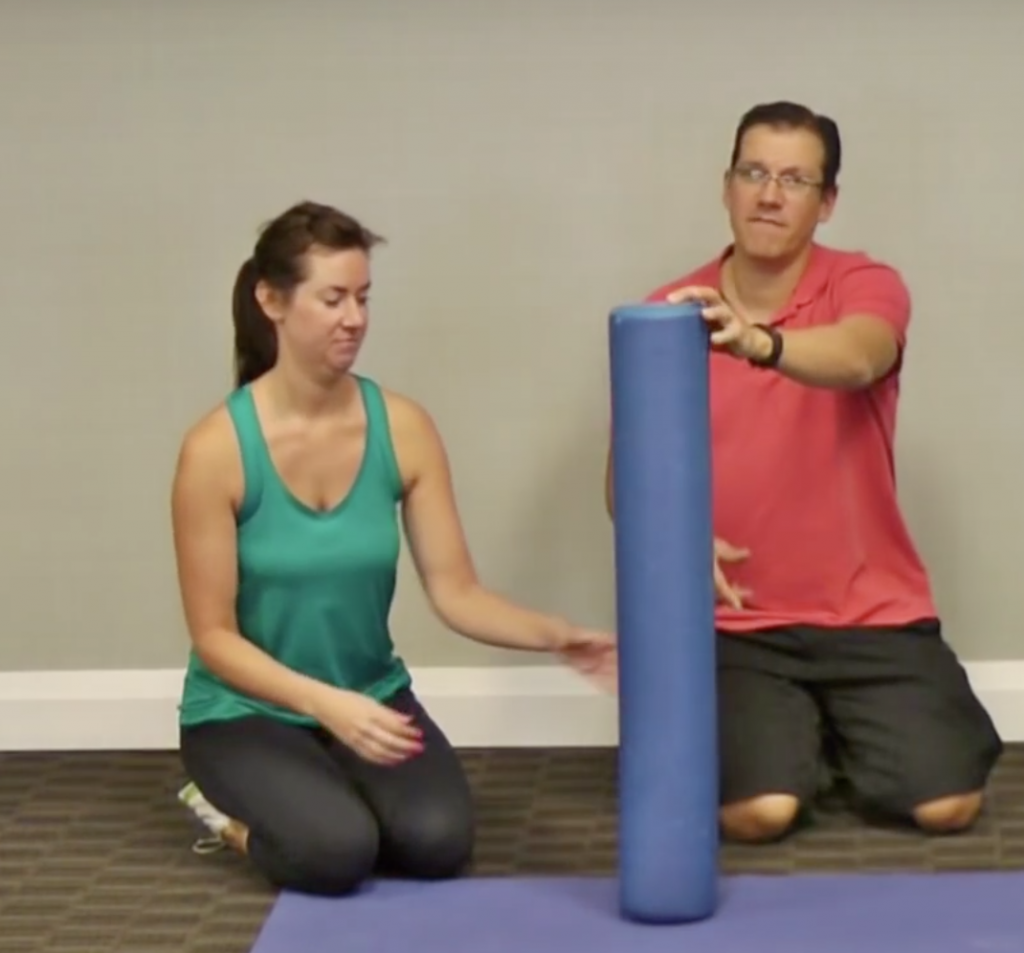
You’ll need a foam roller for the first exercise. You can get them cheap on Amazon, but if you don’t have one a nalgene bottle or a 2-liter unopened bottle of soda will work fine.
Andrea will demonstrate this excellent hip flexor massage in the photos.
Start just above your hip and roll down to just above your knee. Then, come back up to your hip. What we're really focusing in on is the superficial hip flexor and loosening up the rectus femoris muscle. These two areas hold a lot of tightness, so this exercise ends up being an incredible hip flexor massage.
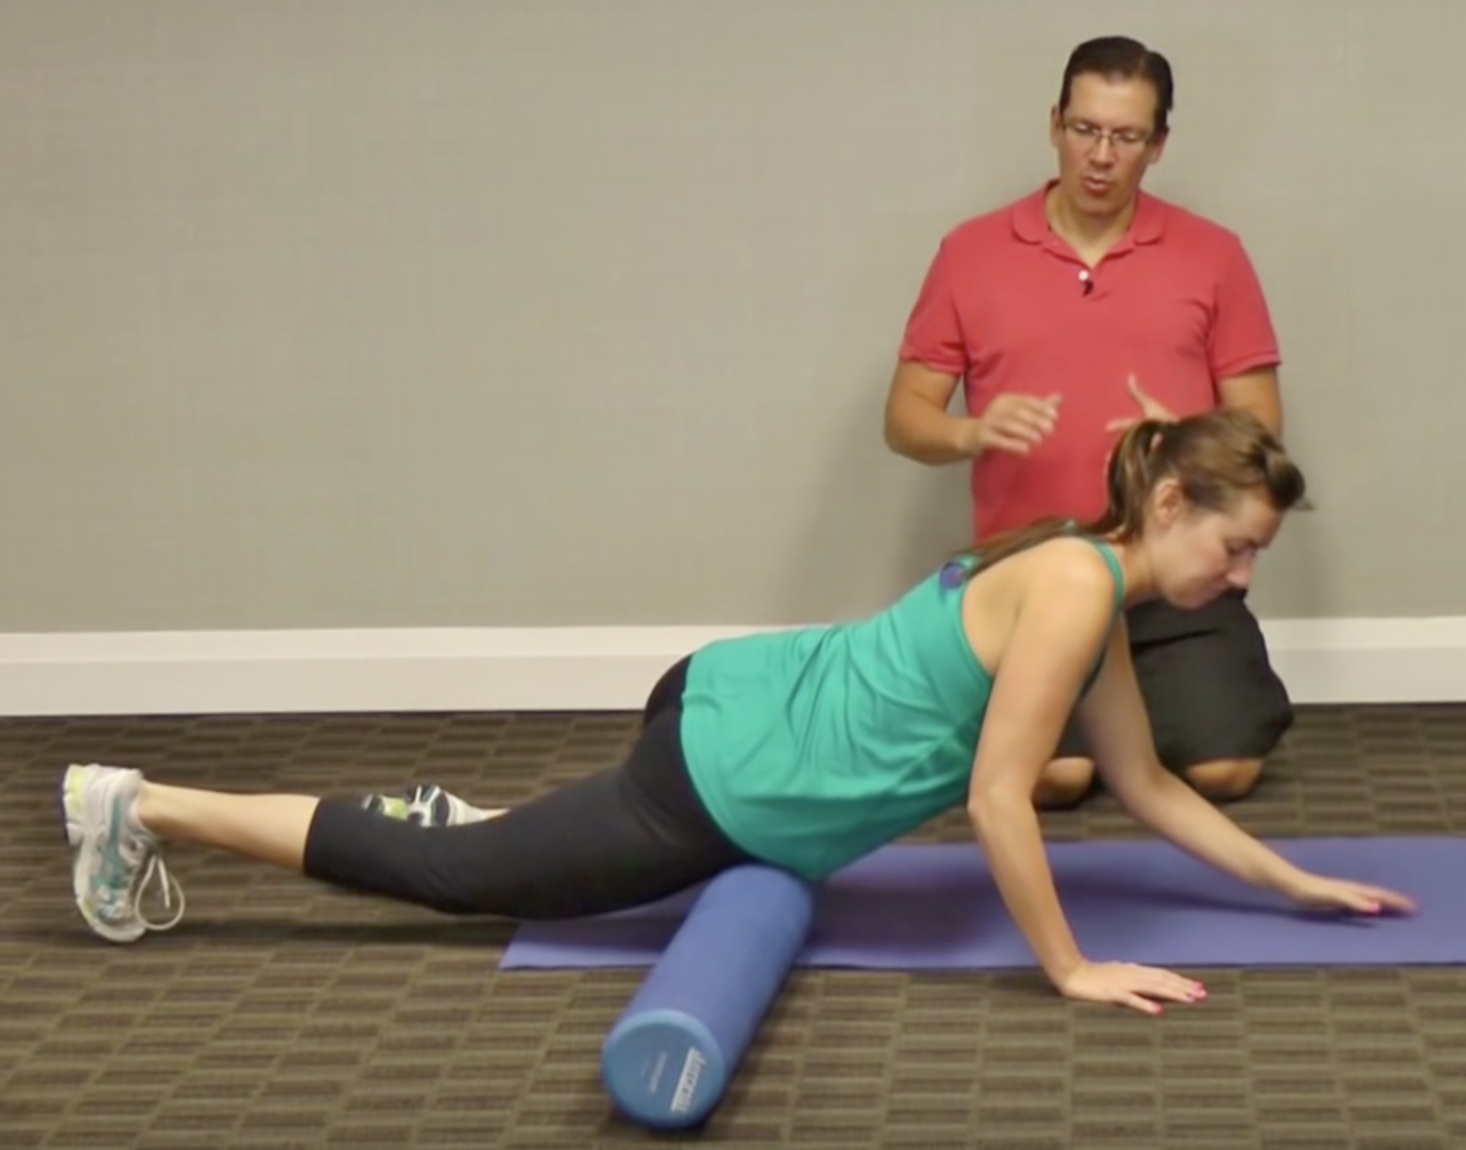
Start
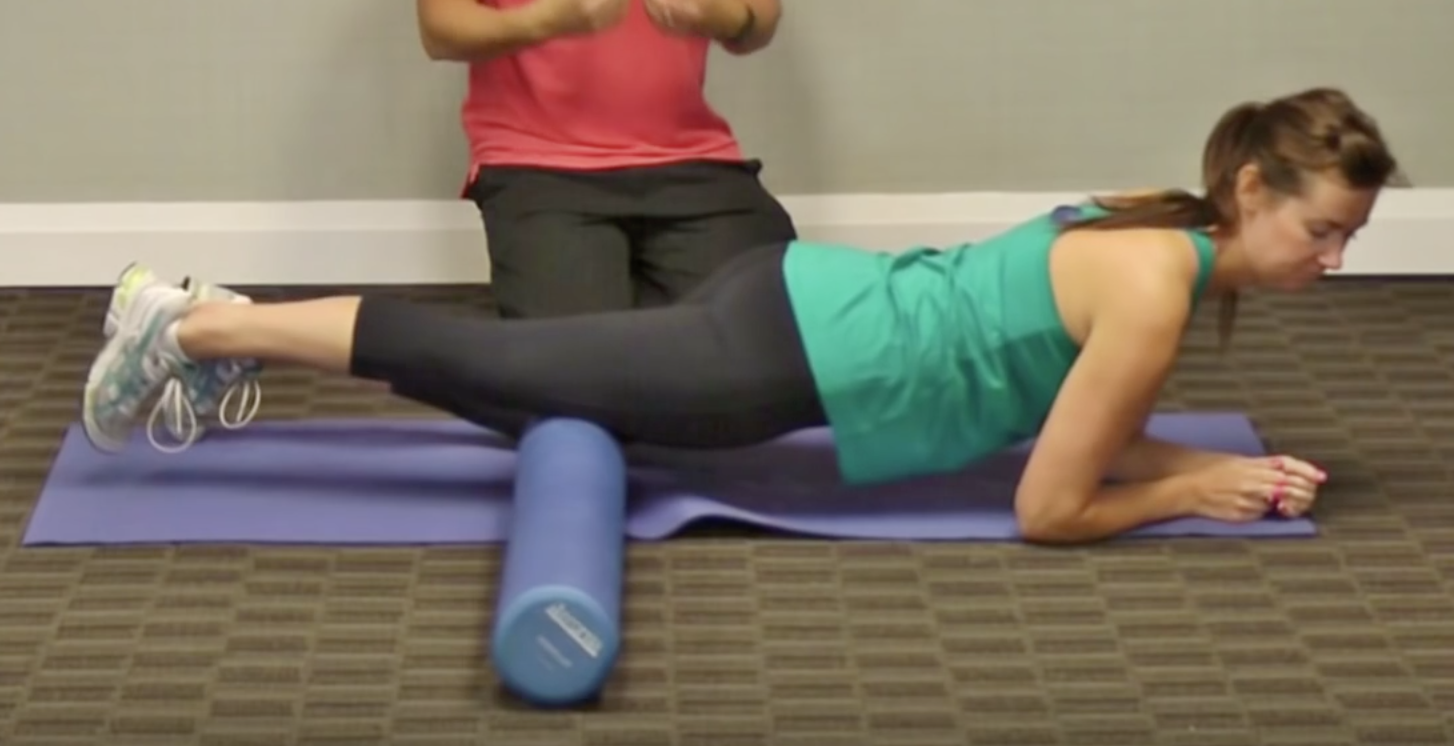
Roll down to just above your knee

Roll back up to your hip flexor
Here’s The Set-Rep Breakdown
Start off with 5 repetitions. Going up and back down is one repetition. See how it feels on one side first.
And then, if it feels okay — progress to ten repetitions.
Next, you’ll want to stop and go through a squatting motion. Pay attention to the side you foam rolled to see if the side is moving better and feeling looser.
Alright let’s move into number two.
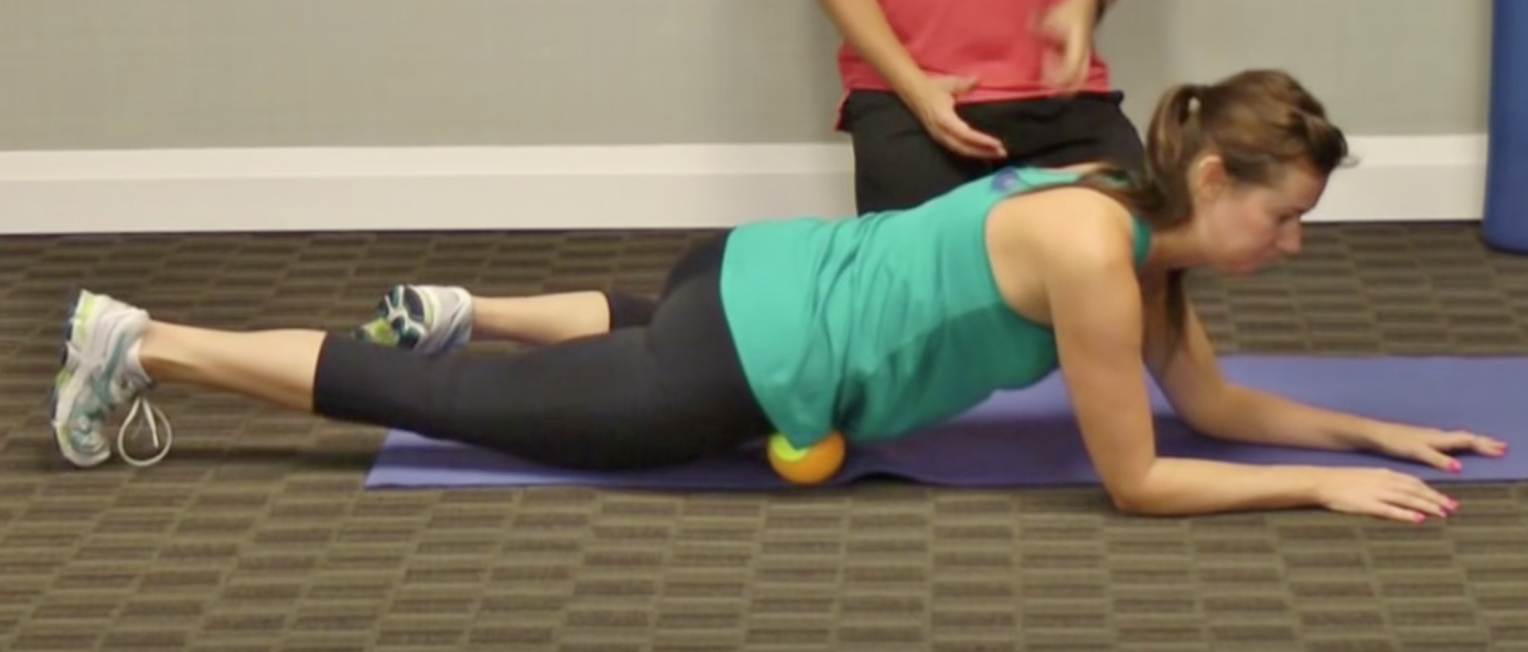
Exercise #2: Tennis Ball Into The Hip Flexor
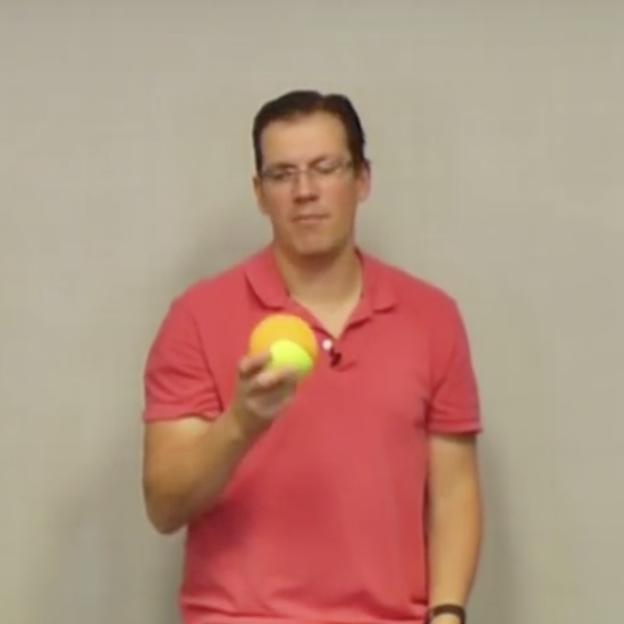
The one you see in the photos is actually a dog ball I got from the dollar store.
It’s two or three sizes bigger than a tennis ball, but if you only have a tennis ball that’s fine.
Place the tennis ball in your hip area; the same spot you started the foam roller from the last exercise.
Move your body in a circular motion, up and down, and side to side. Really just try to get it from every angle. You should not feel any pain, so if you do stop immediately. Don’t worry, as long as you don’t put ALL your weight on the ball, you should be fine.
Banish Stress, Tension & Pain In Your Hip
This ball exercise is a great hip flexor exercise that releases both your hip flexors and the rectus femoris muscle in the hip flexor area.
Remember: we are doing this sequence in a specific order. This second exercise targets the hip flexors to release and loosen them up so you can reduce pain.
Exercise #3: Press Up
You won’t need any equipment for this one.
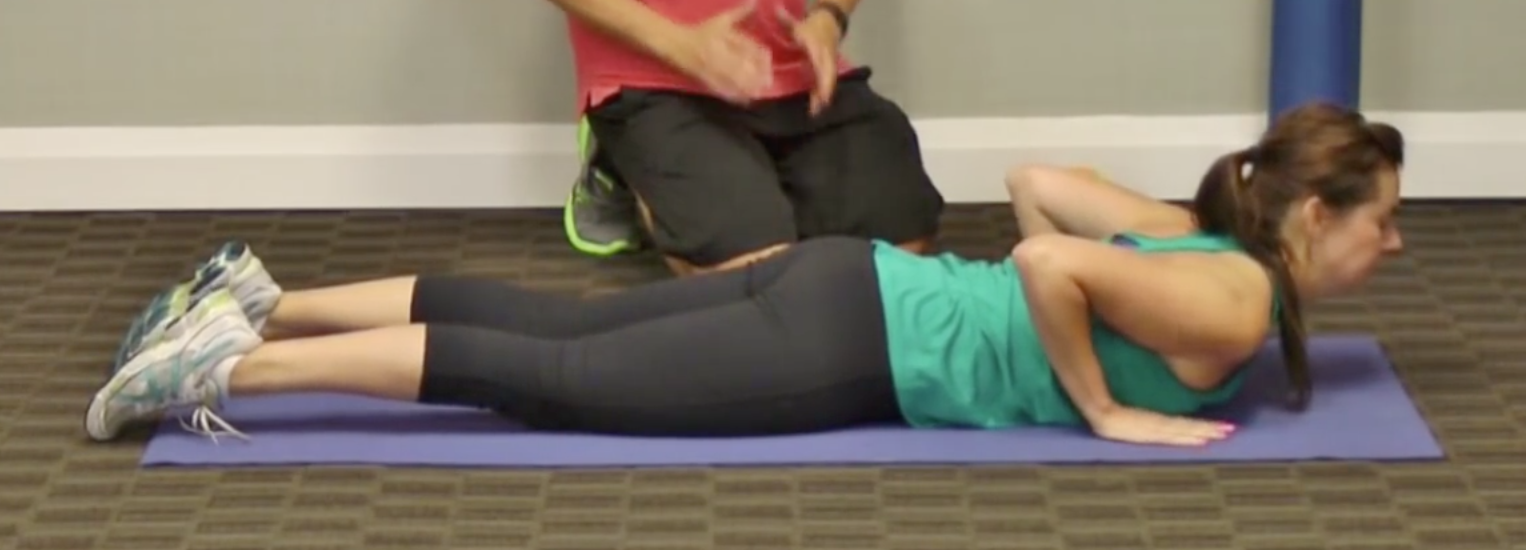
Start
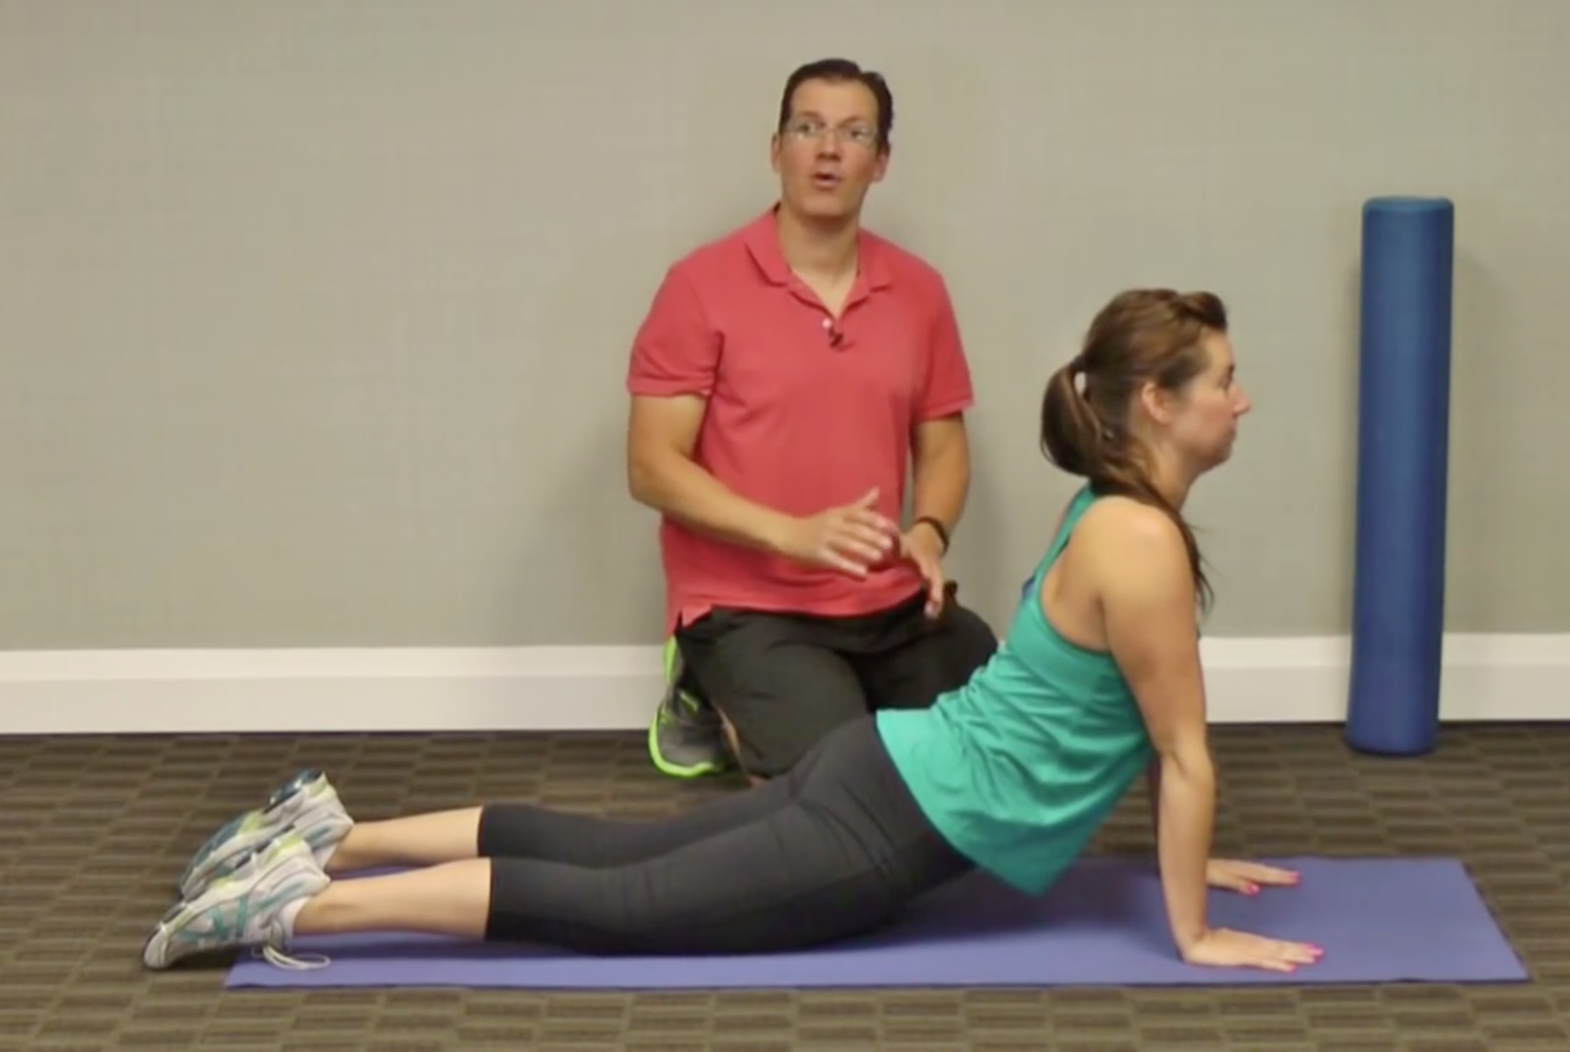
Finish
Lie on your stomach, hands underneath your shoulders. Push up and arch through the back like a cobra. You are working on the mobility in your back, but you’re also stretching the front of those hip flexors.
I recommend holding the stretch for two to five seconds and seeing how it feels. Go through two repetitions total.
Get up, see if the hip area has loosened up. Now, see if you can squat more easily, with less tension. Then, if you’re feeling looser, progress the length of your hold up to 10 or 15 seconds.
When you press up, make sure your hips are coming off the mat so you’re getting a good hip flexor stretch. Just like the foam roller; you end up working on your rectus femoris muscle.
Exercise #4: 90-90 Hip Flexor Stretch
This stretch will hit deeper in your hip flexors than the last one. There are 2 areas of the hip flexor we will hit with 2 different variations. Here is the first:
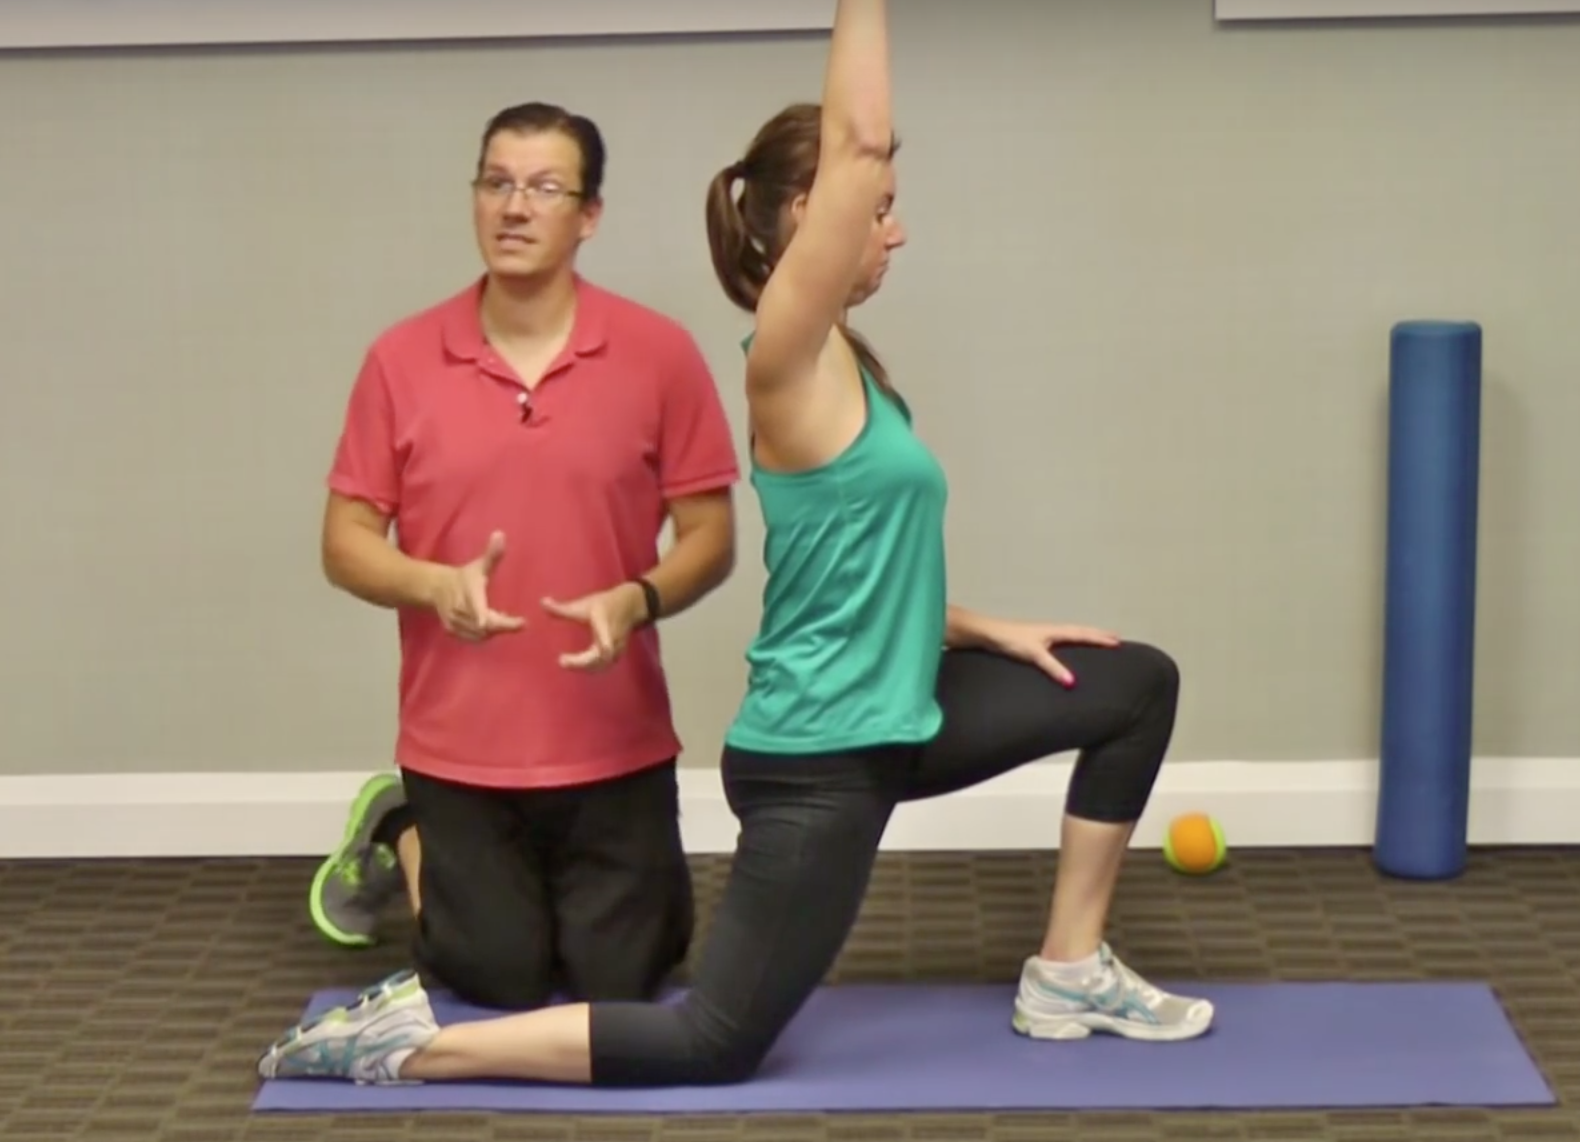
90-90 — Iliacus-Focused:
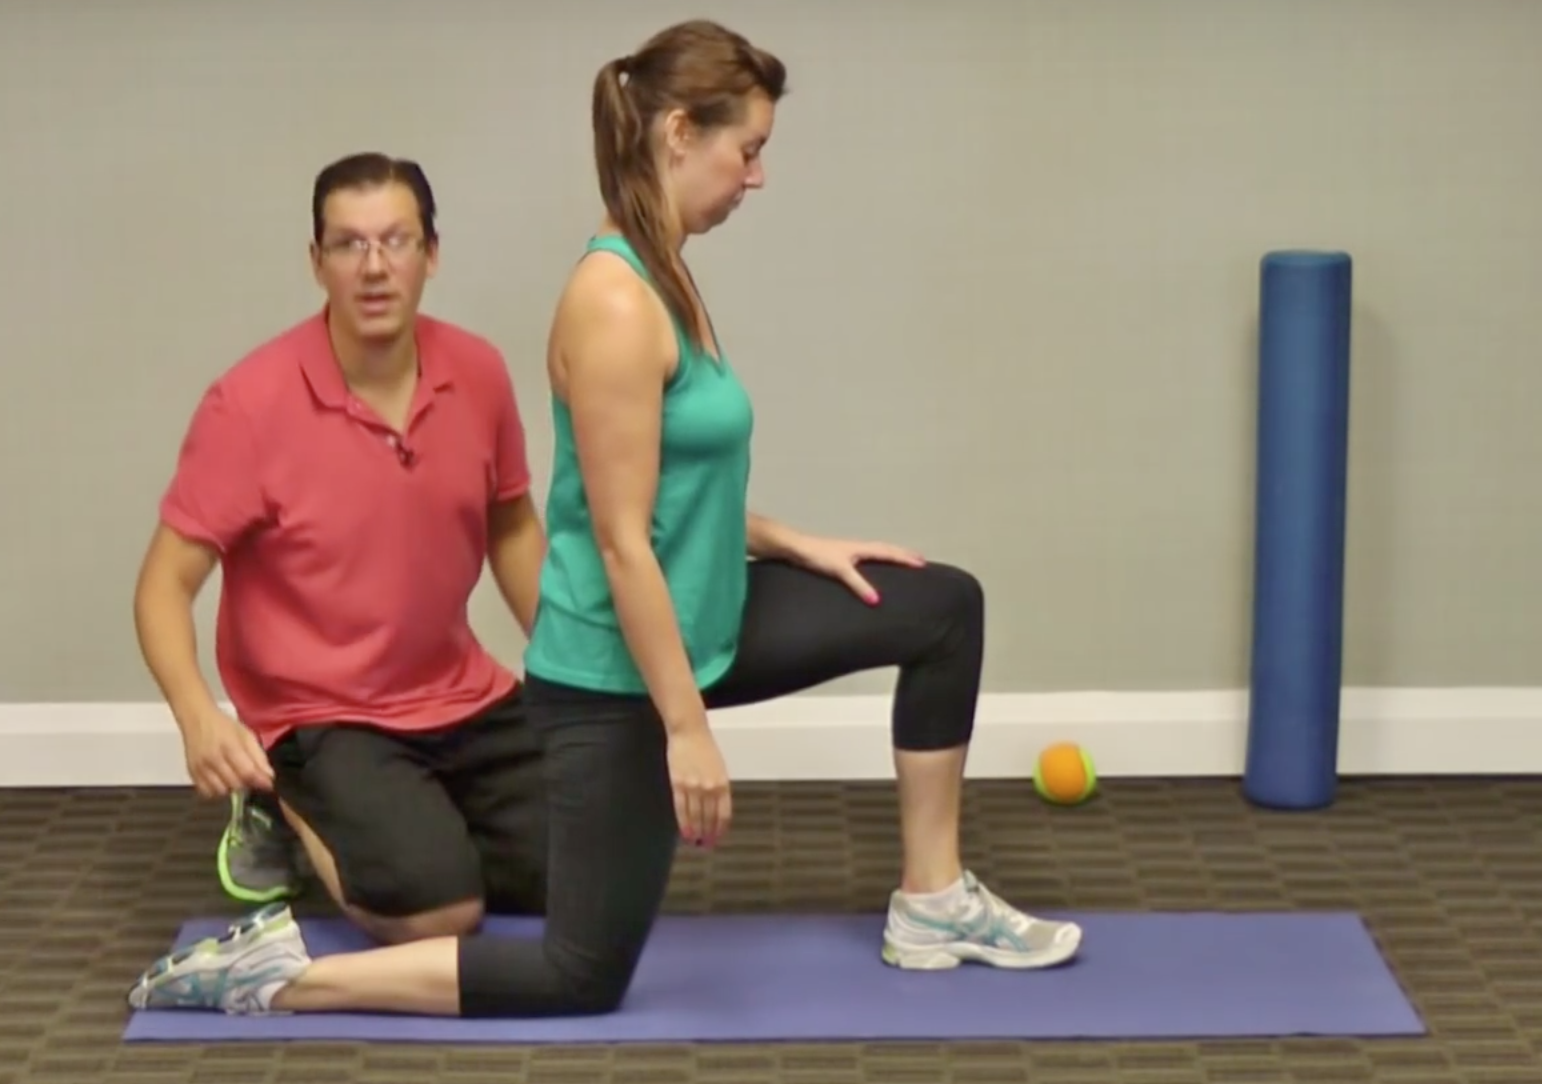
Start position
Stretch position
Take a knee, angle your front knee to 90 degrees, then do the same with your back knee.
Your hip, knee, and ankle need to be making a right angle on both sides. Remember to tighten up your abdominal area. Next, bring the arm opposite of your front knee, straight overhead.
You’re in position, but you haven’t started the stretch yet.
To initiate the stretch, bring your hips forward. You will feel a deeper hip flexor muscle called iliacus stretching in the front of your hip area. Hold it for two to five seconds, then relax.
90-90 — Psoas-Focused
Since you are already down on your knee, I’m going to have you slip into a slight variation of the last stretch.
Feel A Deep Stretch When You Access Your Psoas
What’s great about this one is, it targets your body’s “hidden survival muscle”: the psoas. This little-known muscle actually connects deep into your spine.
You’ll start the same way, and bring your hips forward. But this time, add a little bit of a side bend. You get the bend by tilting your outstretched arm to the side.
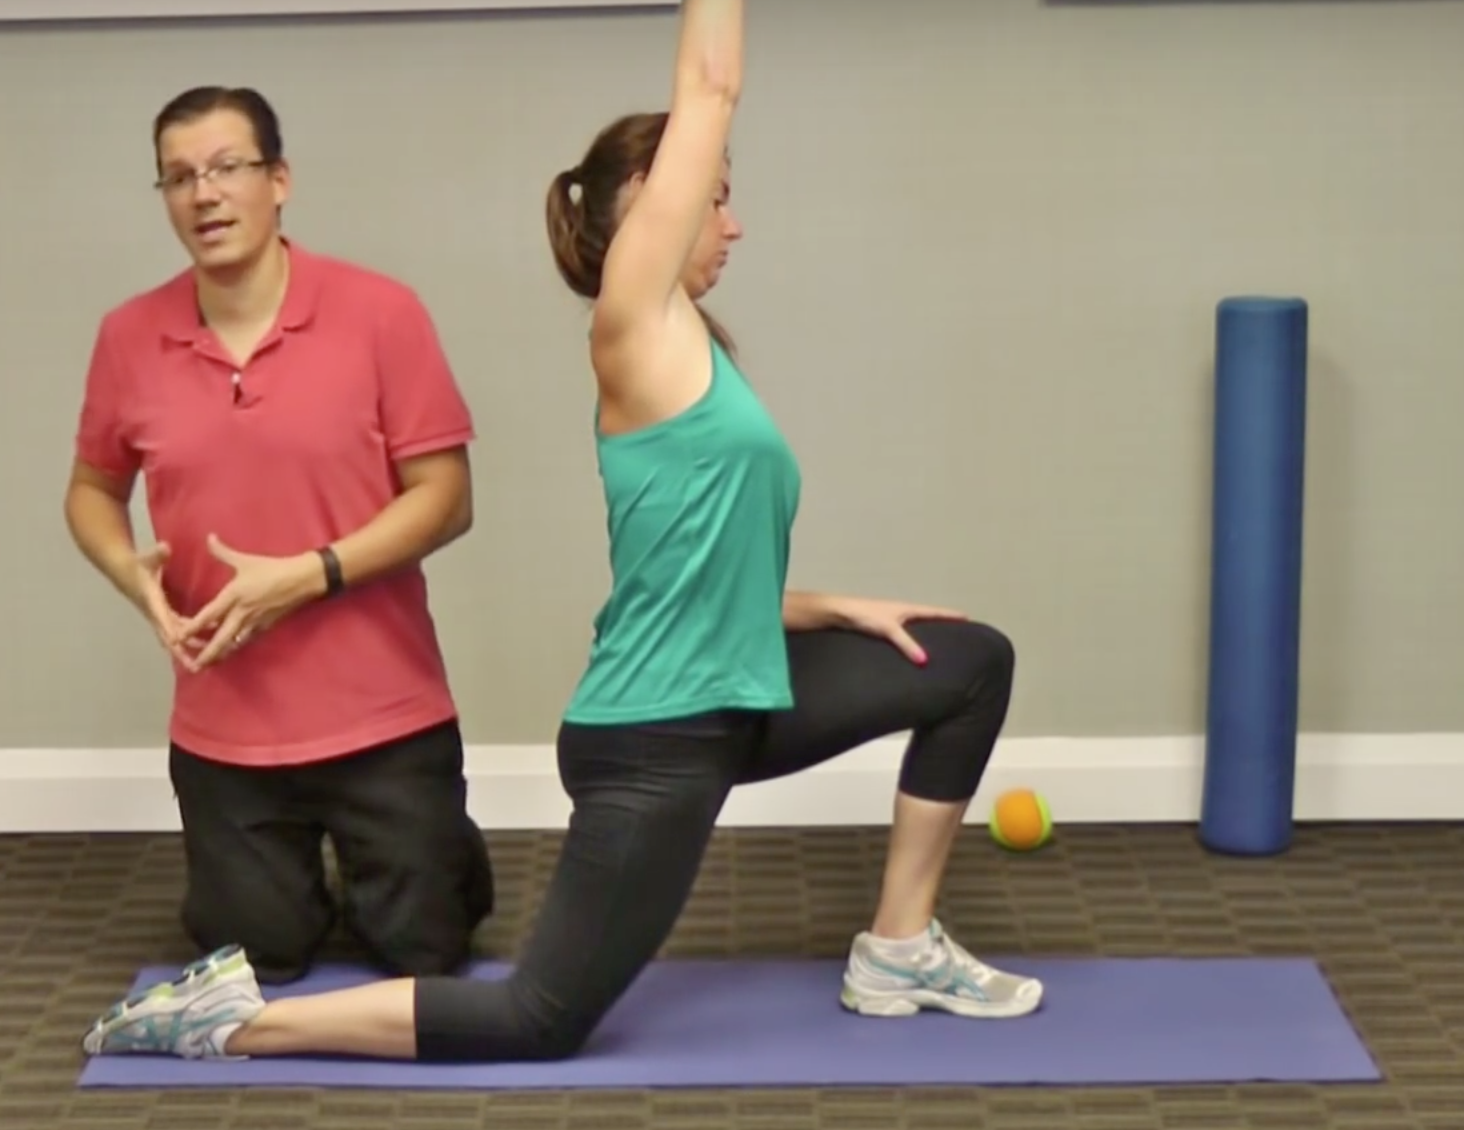
It’s a little hard to see here, but my assistant is tilting about 6 inches to the left.
This moves the stretch deeper into your spine area. Remember: you’re looking for a light stretch...you are NOT trying to rip apart the muscle.
Go with 2 repetitions on each side, holding each for about 20 seconds.
This will help with hip flexor pain, tightness, and loosen things up if you’re looking for hip flexor massage exercises, mobility exercises.
Try These Every Day & Don’t Forget To
Download Your FREE Checklist
Give these a go and make sure you do them in the order I list them, and in the rep and set schemes I recommended.
You can do the exercises every day, you just need to find that balance of how many repetitions you do. With the foam rolling and tennis ball, you want to stick to 5 to 10 repetitions.
Don’t go overboard and do 50 reps like a madman. This can easily upset your muscles and cause more pain.
If you like those tips and those exercises, click the button below, and enter your email so I know where to send your Tightness Test Checklist.
I hope this helps, and I encourage you to make it a regular part of your routine!
Remember to download your FREE
Tightness Test Checklist to track your
progress as you loosen up your hip flexors
Enter your email and click the button below to get the FREE checklist.
![]() We value your privacy and would never spam you
We value your privacy and would never spam you