
I wanted to answer a question that has come up on Healing Through Movement Facebook Fan page. It’s from Steve:
“Have your programs worked Piriformis Pain Syndrome?”
The quick answer is – Yes!
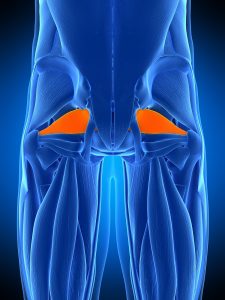
Piriformis Syndrome is the tightening up of the Piriformis muscle. It could either shorten up or develop into a muscle spasm. The tightening up of the piriformis muscle will irritate the sciatica nerve, which will lead to pain, poor movement, and tightness in the hip. There could also be nerve symptoms like radiating pain into the butt, hamstring, and foot.
I have noticed in the last 20 years helping people overcome injury and pain, that traditional approaches help address pain relief, but oftentimes they do not address the permanent relief of overcoming Piriformis Syndrome. With my program, the Piriformis Syndrome Solution, I am going to give you pain relief, however, you would also want to strengthen your body to avoid the reoccurrence of Piriformis Syndrome.
Let’s look at the program to help overcome Piriformis Pain Syndrome, and utilize multiple techniques. Traditional approaches utilize only one technique to give pain relief, but I want to help you overcome and permanently get rid of Piriformis Syndrome.
Here are the 3 things that you need to do to address Piriformis Syndrome:
- Dynamic Stretching
- Core Stability
- Muscle Activation
Below is one exercise that provides pain relief for Piriformis Syndrome. Even if you don’t have bonafide Piriformis Syndrome, if you sit a lot, have poor core stability, poor hip strength, there’s a good chance that you have some level of Piriformis irritation or tightness. You might benefit from this exercise and suggest you give it a go.
In this exercise you are going to use a ball. The denser the ball is, like a golf ball, the more intense the massage is. The softer the ball like the tennis ball or a racket ball, it won’t be as deep of a massage or release.
Level #1 – Placing the Ball in Your Sit Bone
Take the ball and place it in your hip joint area specifically on your “sit bones” or ischial tuberosity.
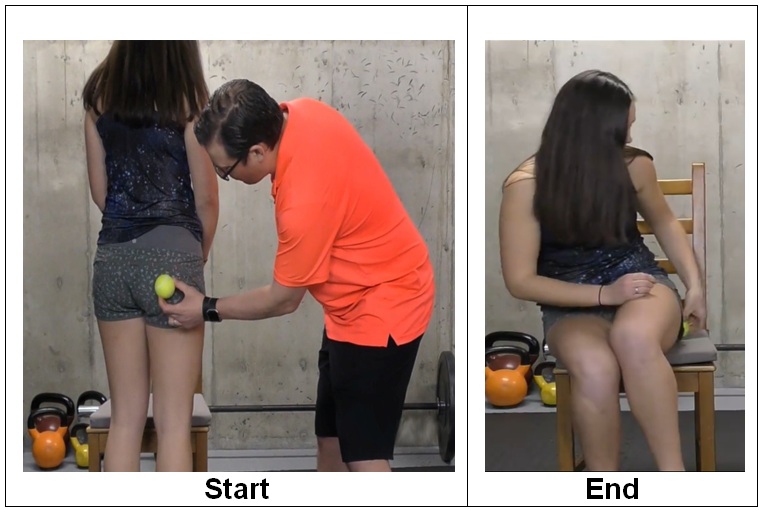
Place the Ball in Your Seat Area
Move the ball around the sit bone area and look for sensitive or tight muscles. You can continually move the ball around or you can stop in that sensitive area and just sit there and work with the ball until you feel loosening of the muscle. Start with 5 repetitions or 5 to 10 circles to relax the muscle. You can do it again within 15 – 30 minutes.
Move the Ball Around the Sit Bone Area
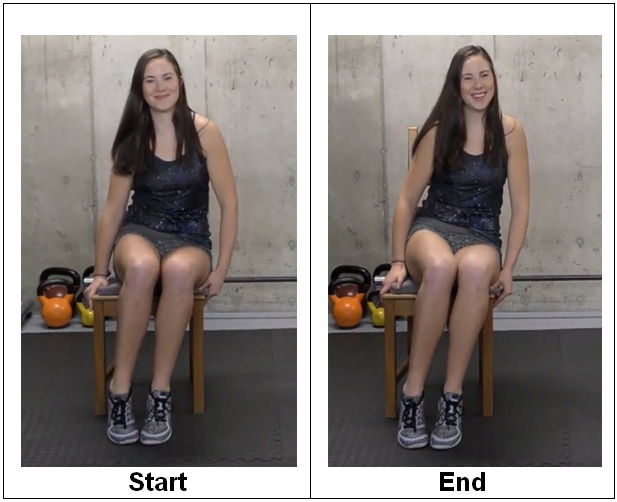
Level #2 (Progression) – Crossing The Leg Over
This position opens up your hip more and exposes your Piriformis muscle a lot more so you can get to it better with the ball.
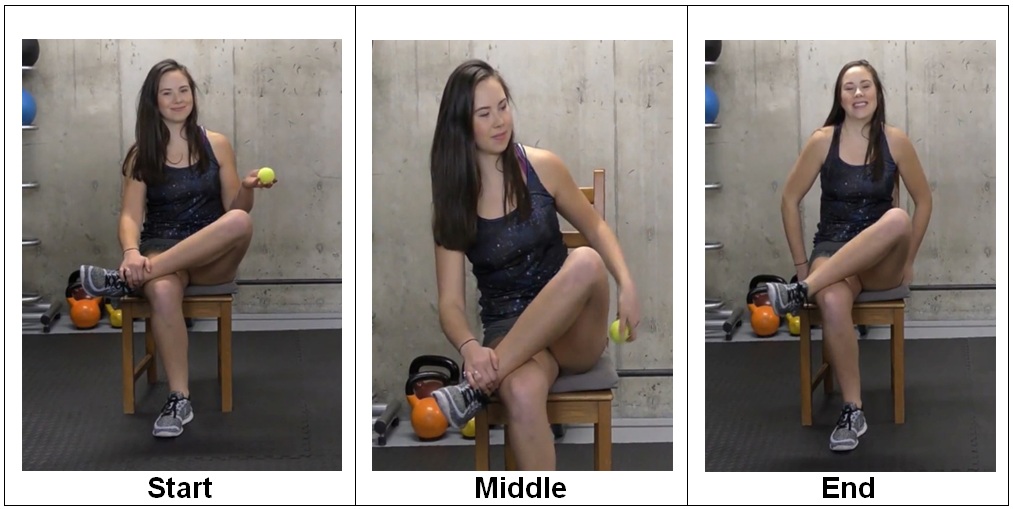
Crossing the Leg Over
Start off by crossing your left leg over right to open up your left hip. Take the tennis ball and put it in the ischial tuberosity or in the “sit bone”. You can either rotate the ball around the ischial tuberosity and look for a sensitive area or you can hold it there. You want it to be uncomfortable, but you don’t want it to be screaming pain.
If you find the point where it is incredibly painful, move away from it so it feels like you have a bit of a deep massage. The aim is to feel the muscle being massaged and just hold it there, but sharp pain and burning sensation is something you want to avoid. Start off with 5 to 10 repetitions. Make sure that you give that muscle a rest for like 15 to 30 minutes before going through the exercise again.

Take care!
Rick Kaselj, MS
.